How to Check OMR Sheets Automatically: Manual vs Scanner
Creating the sheet is half the job — the real time-saver is checking it. There are two practical ways to grade OMR sheets without a dedicated machine.
Option 1: Upload responses
If you (or an invigilator) record each student’s answers, paste or upload them on the Check Answers page along with your answer key. You instantly get scores, ranks, percentages, grades, section-wise marks and item analysis. This is ideal when you already have responses in a spreadsheet.
Accepted formats
- Compact strings like
ABCDAB - Numbered pairs like
1:A, 2:C - CSV rows:
Name, Roll, A, B, C, D
Option 2: Scan the filled sheets
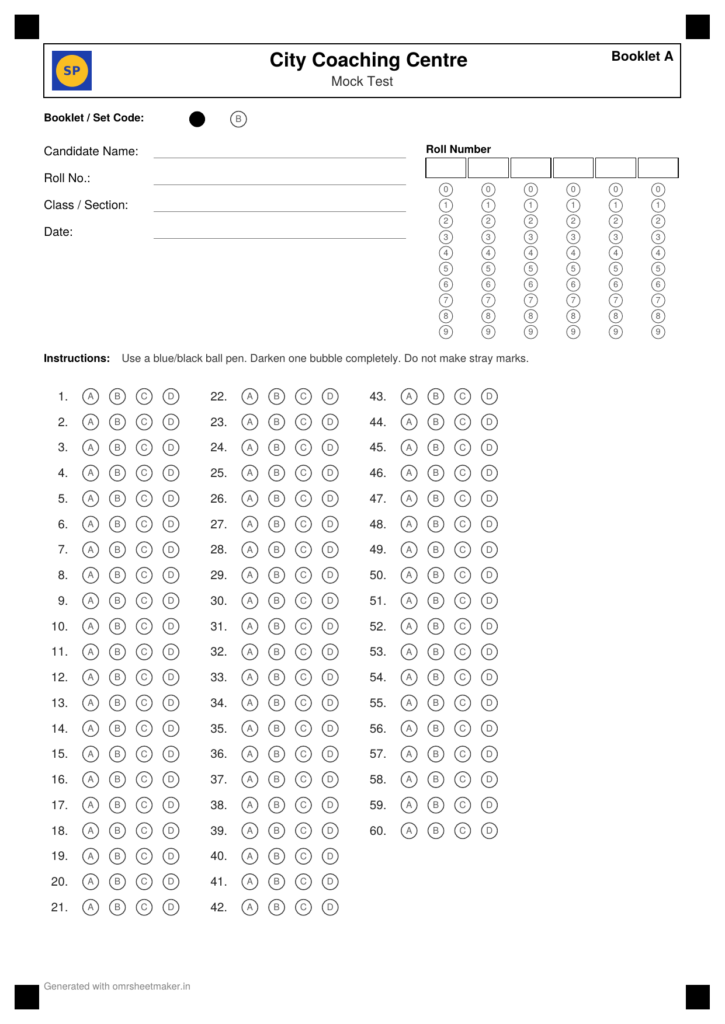
Don’t want to type responses? Use Scan & Grade: photograph or scan each filled sheet and the tool finds the corner marks, aligns the page, and reads which bubble is darkened — then grades it against your key. Scan straight-on and well lit for the best accuracy.
Manual vs scanner — which to choose?
Use upload when responses are already digital or volumes are small. Use scanning when you have stacks of paper and want to avoid data entry. Both support negative marking and produce the same analytics and report cards.
Bonus: report cards and Excel
After grading, download per-student PDF report cards or an Excel sheet of results to share with students or management.
Getting Accurate Results from Scan & Grade
Scan & Grade works by finding the sheet’s corner registration marks, correcting for any rotation, and reading bubble darkness against your key — and a few habits make that process noticeably more reliable. Photograph or scan the sheet straight-on, holding the camera parallel to the page rather than at an angle, since even moderate skew makes accurate alignment harder. Make sure all four corner marks are fully visible and undamaged — a mark hidden by a staple, fold or shadow can throw off the alignment step entirely. Shoot in good, even lighting on a plain, contrasting background, and avoid shadows falling across the bubble area, which can be misread as marks.
In testing, the scanner reads cleanly on sheets with rotation up to around ±5 degrees and starts to struggle past roughly ±8 degrees — so “close to straight” is good enough, but a sheet held at a visible angle is worth reshooting. The current version reads one sheet per image, so photograph sheets individually rather than several at once in a single frame.
Reading Your Results: Item Analysis and Section-wise Scores
Grading a stack of sheets produces more than just a score per student, and it’s worth using the rest of what’s generated. Item analysis shows how many students got each individual question right or wrong across the whole batch — a question almost everyone missed is often a sign the question itself was ambiguous or mistaught, not that the class doesn’t know the material, and this view surfaces that pattern in seconds rather than requiring you to eyeball every sheet. Section-wise scores break a multi-subject test (say, Physics, Chemistry, Biology on one sheet) into per-section marks and percentages, so you can see whether a student’s weak spot is one subject rather than the test as a whole.
Combined with the automatic rank list and letter grades, this turns a stack of filled sheets into a genuine diagnostic tool — useful for a teacher deciding what to re-teach, and for an institute tracking a cohort’s progress test over test, not just a single result.
Publishing Results Online for Students to Check Themselves
Once grading is done, there’s usually a second job: getting results to students without fielding “sir, what did I get” messages one by one. The “Publish & share results” option on the Check Answers page turns a graded batch into a private results page with its own access code — students look up their own result by roll number or name and see just their own card and, if you choose to include it, a leaderboard of top scorers, without seeing anyone else’s individual marks. The link can be shared directly over WhatsApp, and students don’t need an account or app to check it — they just open the link and search their own roll number.
For institutes running frequent tests, this is often the single biggest time-saver in the whole workflow: grading a batch and sharing results becomes one continuous step instead of two, and it removes the need to read out marks in class or field individual queries after every test.
Frequently Asked Questions:
-
What file types can I use for Scan & Grade — photos or scanned images?
Both work. A clear phone photo taken straight-on in good light is fine, as is a flatbed scan — what matters most is that all four corner marks are visible and the sheet isn’t tilted.
-
Can I check sheets that use negative marking?
Yes, both the upload method and Scan & Grade support negative marking — set the marks and negative-marks values once when grading, and the scheme is applied automatically to the whole batch.
-
How do students see their own results without seeing everyone else’s?
Publishing results creates a page where each student searches their own roll number or name and sees only their own card. A leaderboard of top scorers can be included, but individual marks for other students aren’t shown.
-
Is there a limit to how many sheets I can check in one batch?
Free and paid plans have different student and question caps — check the Pricing page for current limits. Within your plan’s cap, both the upload method and Scan & Grade handle a full batch in one go.